 ( 230 ) 3-Feb-2013
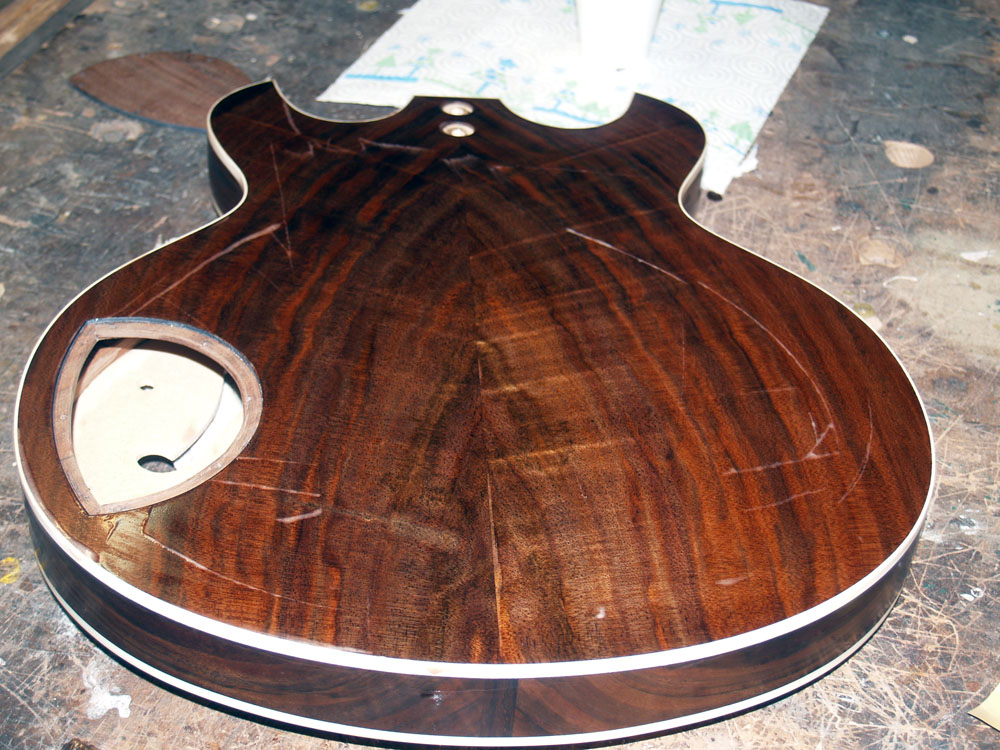
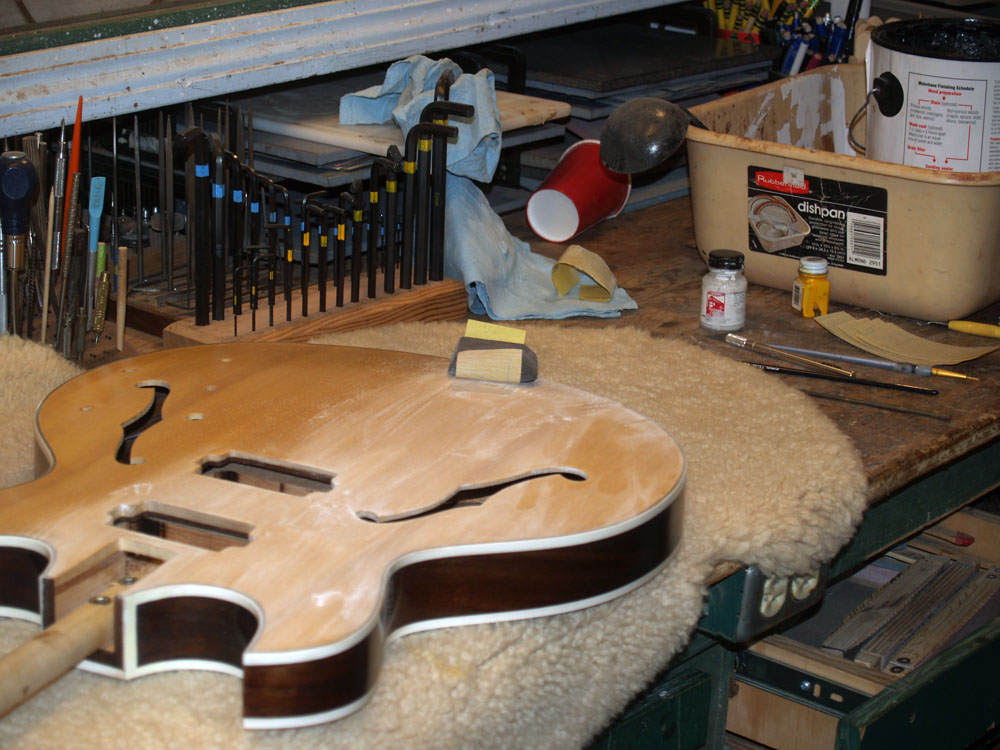
Now I am prepping the guitar prior to applying the finish. Here I am applying an epoxy paste to fill the pores in the wood. I will apply a couple of coats of this and then sand the surfaces smooth.
( 230 ) 3-Feb-2013
Now I am prepping the guitar prior to applying the finish. Here I am applying an epoxy paste to fill the pores in the wood. I will apply a couple of coats of this and then sand the surfaces smooth.
 ( 231 ) 3-Feb-2013
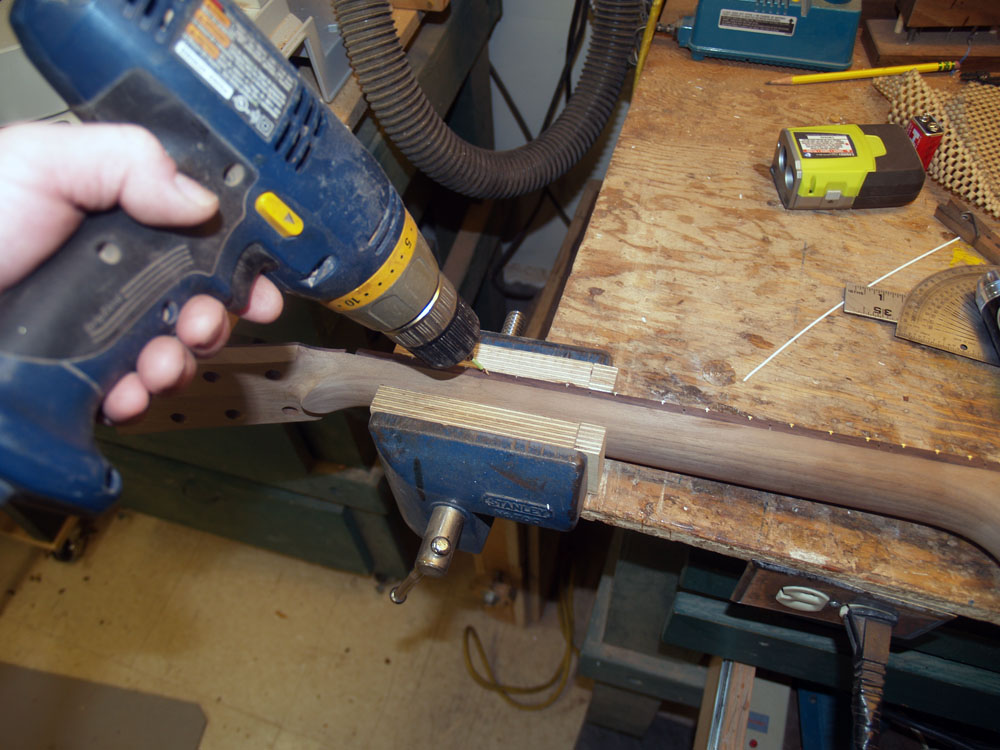
While the epoxy is curing I take the time to install the side markers on the neck. First I drill the holes.
 ( 232 ) 3-Feb-2013
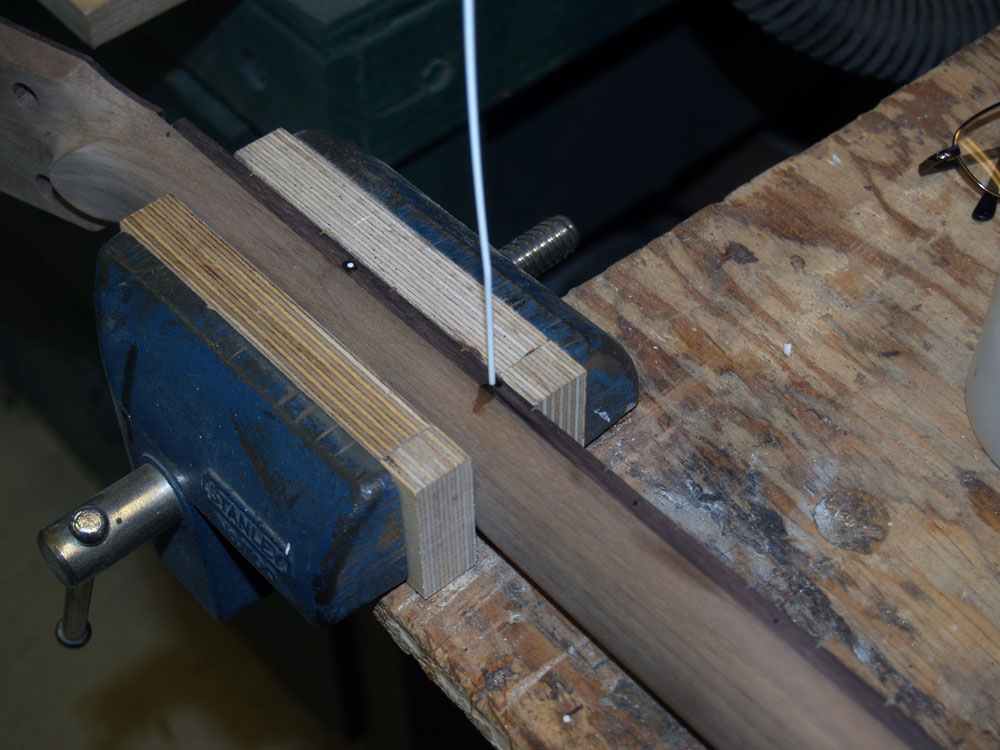
And then I glue in a PVC rod and cut it off.
 ( 233 ) 3-Feb-2013
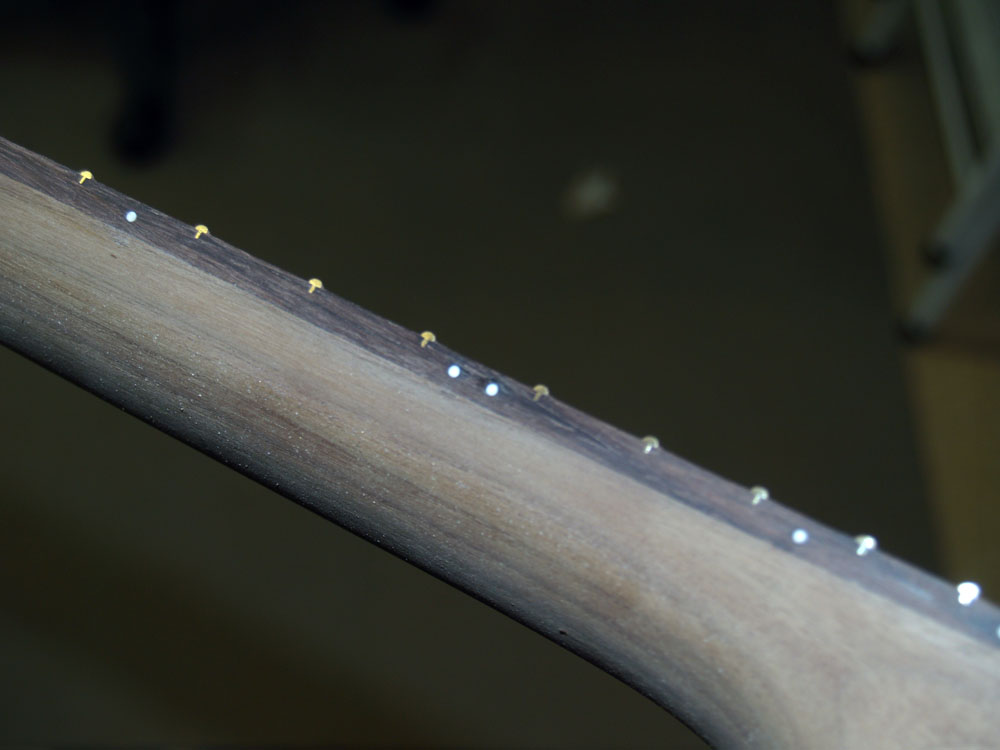
Then I sand everything smooth before applying a layer of epoxy.
 ( 234 ) 3-Feb-2013
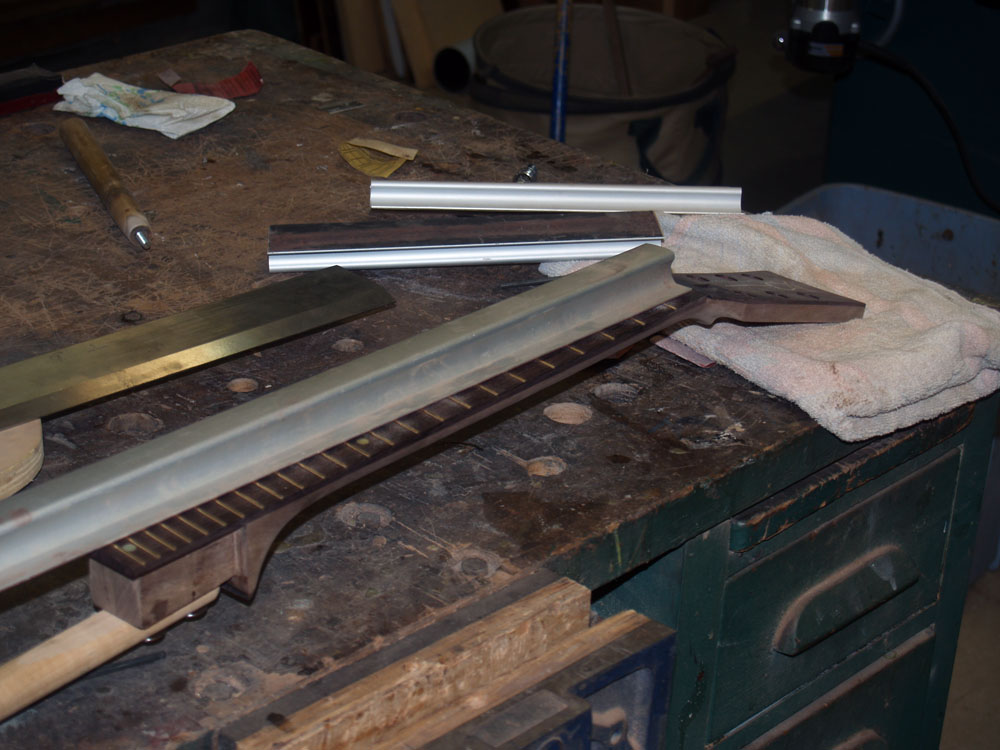
One of the more important tasks is to level and dress the frets. Here I am using a very straight sanding tool to bring the top of the frets into line.
 ( 235 ) 3-Feb-2013
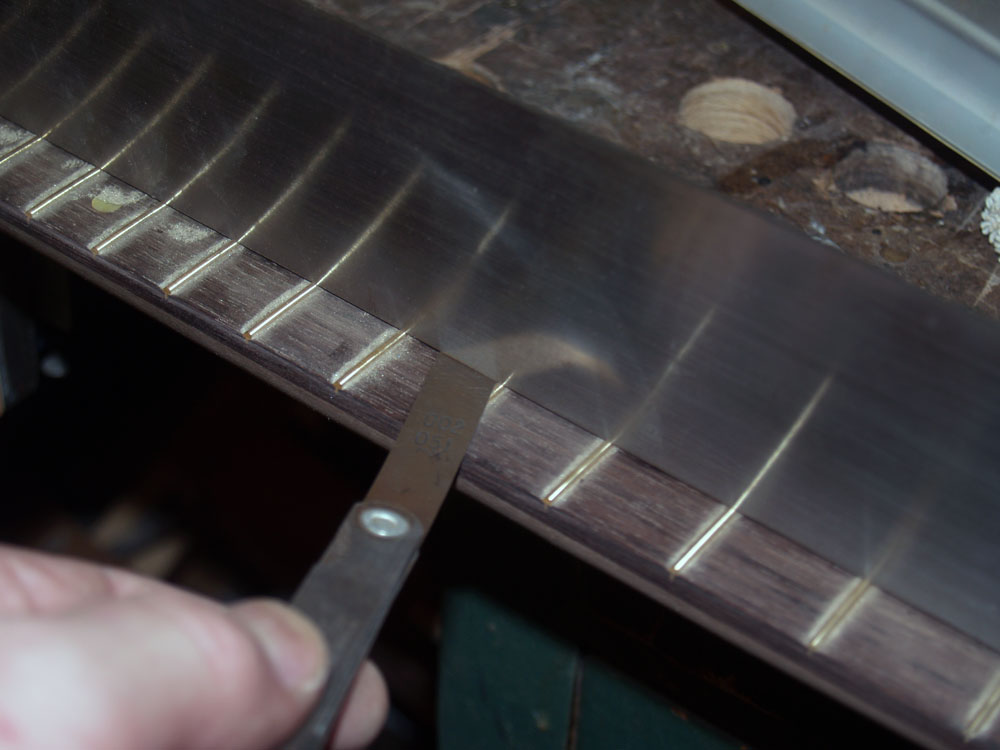
I use a 2 mil feeler gauge to make sure everything is level within tolerances.
 ( 236 ) 3-Feb-2013
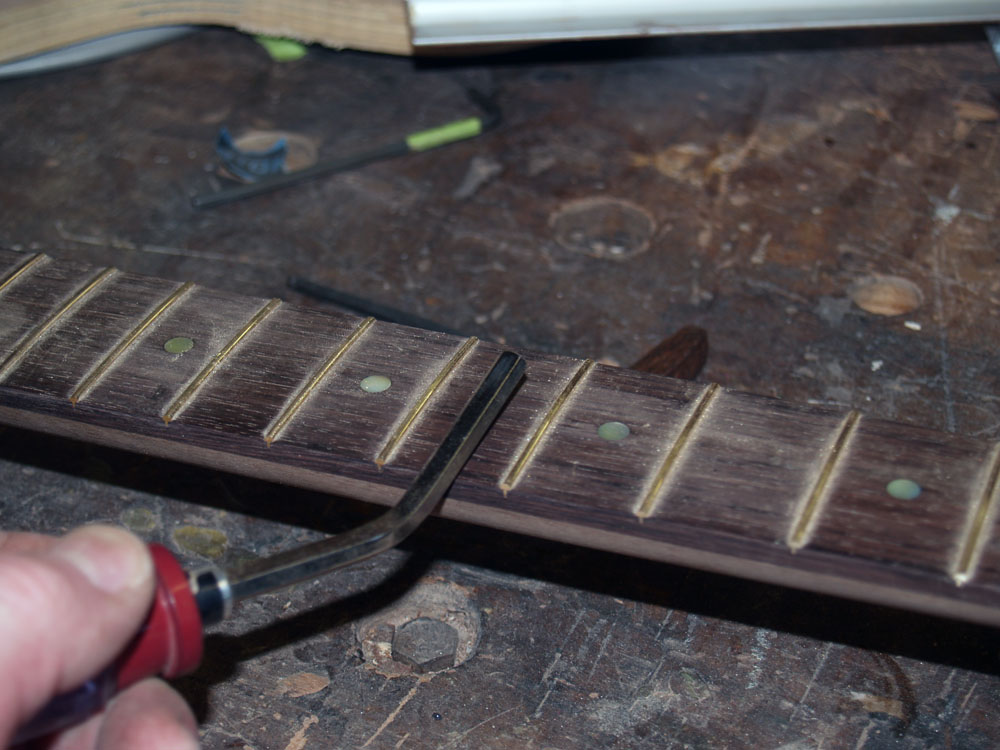
And then I use a small file to shape the crown of each fret and to round the ends of the frets into little hemispheres.
 ( 237 ) 3-Feb-2013
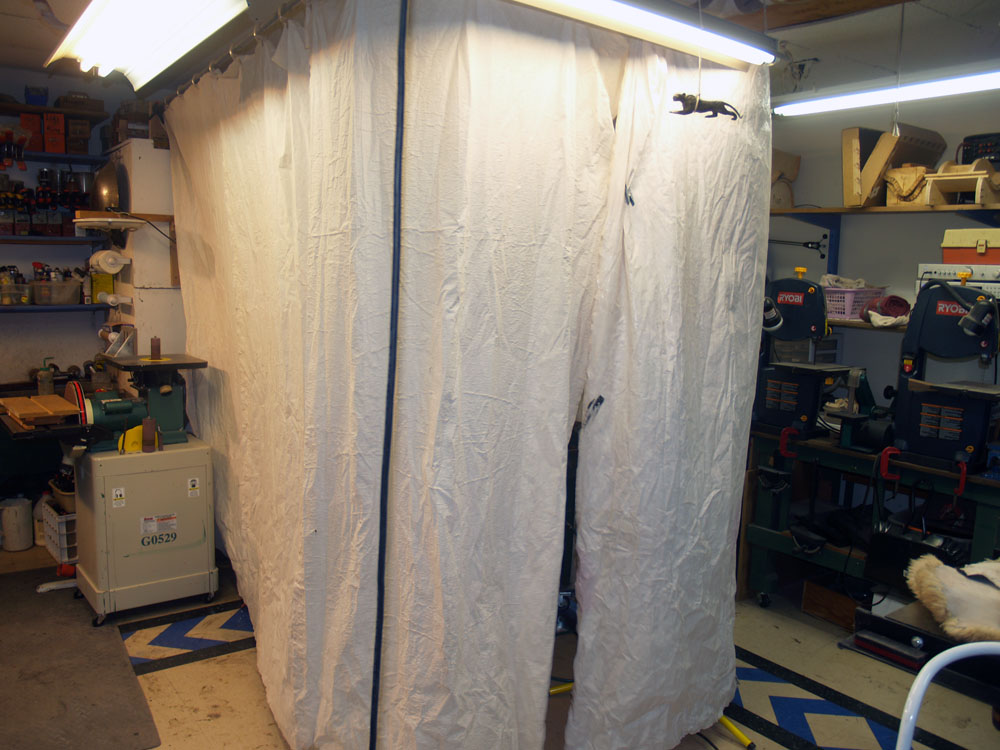
Now on to the lacquer. Here you see the paint both I have set up in my shop.
 ( 238 ) 3-Feb-2013
The process of applying lacquer involves apply several coats, letting it dry between each coat, and then sanding everything smooth. The objective is to build up a layer of lacquer that has no hills or valleys. Glass smooth is the objective.
 ( 239 ) 3-Feb-2013
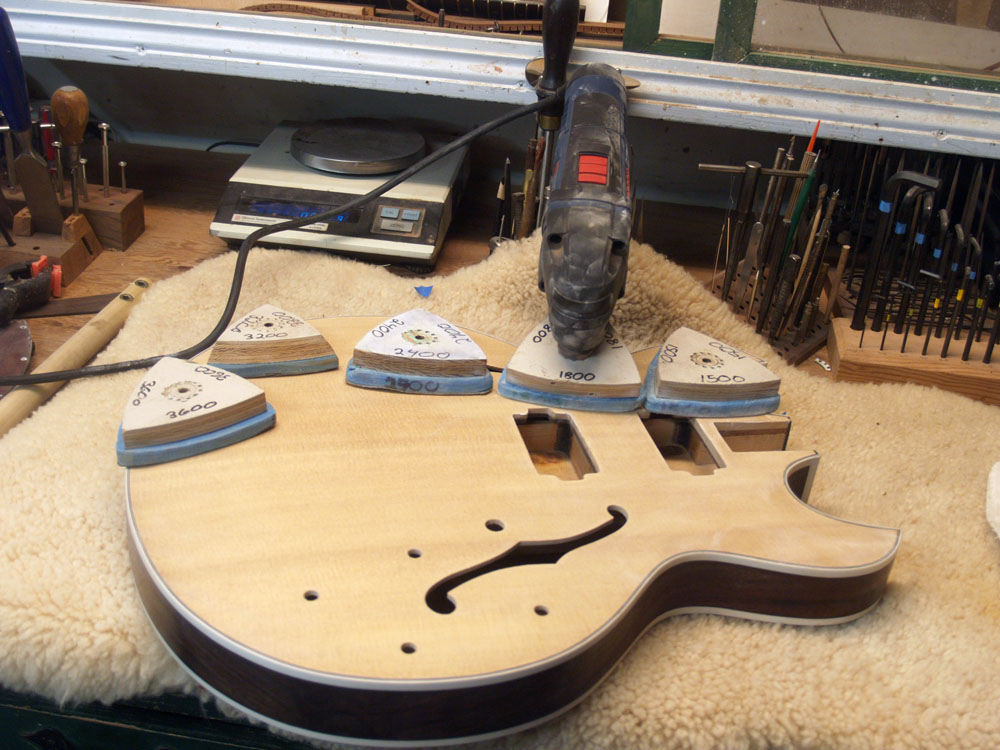
After letting the lacquer cure for a week I start to bring out the shine. The first process involves using progressively finer grits of sanding cloth until there is a dull shine.
 ( 240 ) 3-Feb-2013
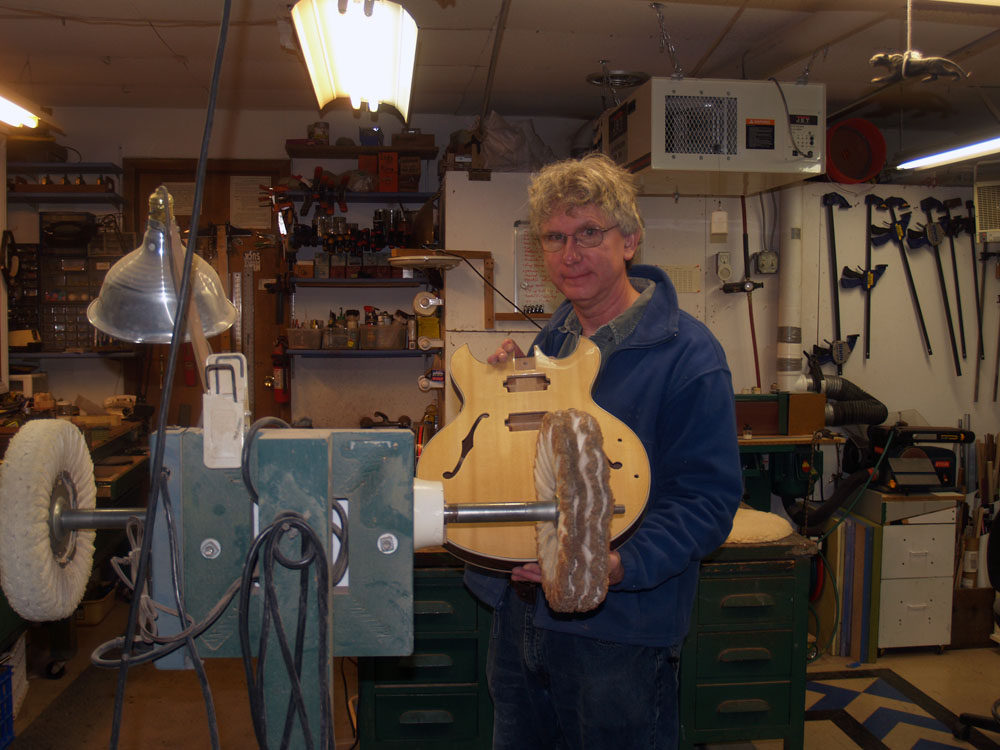
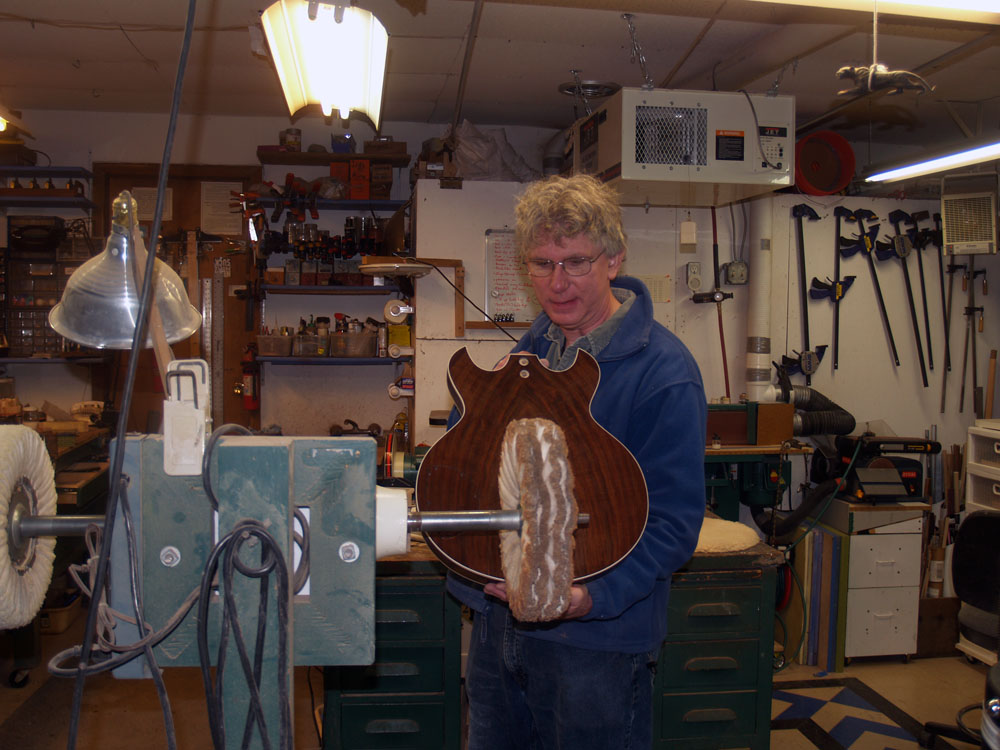
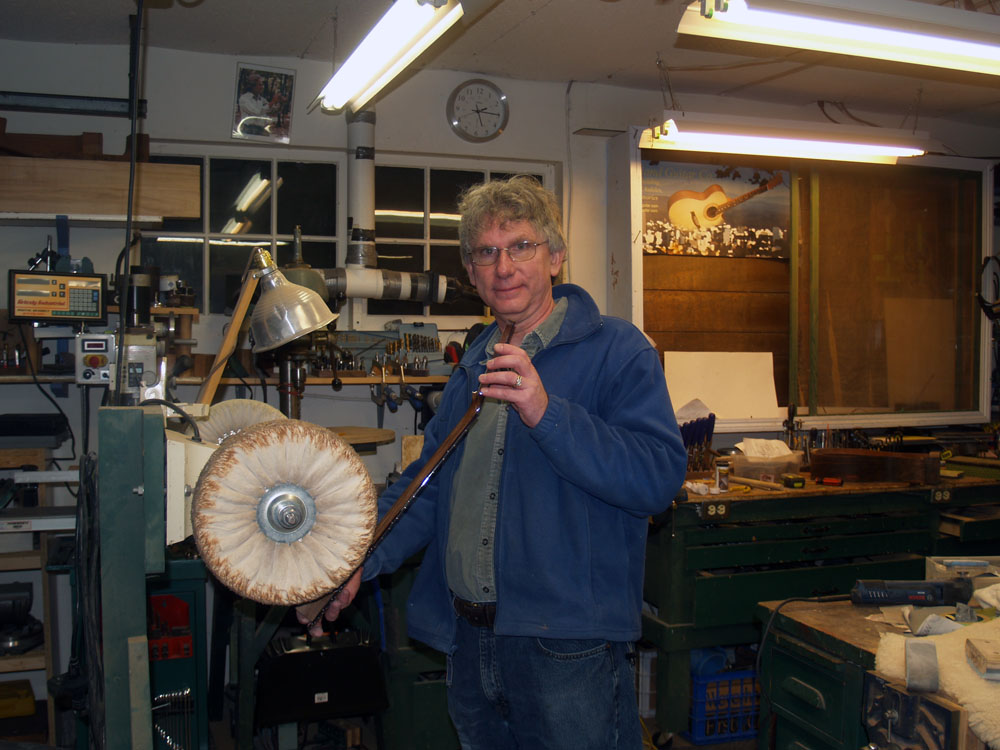
And then I use my buffing wheel to finalize the shine.
 ( 241 ) 3-Feb-2013
 ( 242 ) 3-Feb-2013
After this is done I assemble the various parts and string up the guitar. Go to the Photos Page to see the results.